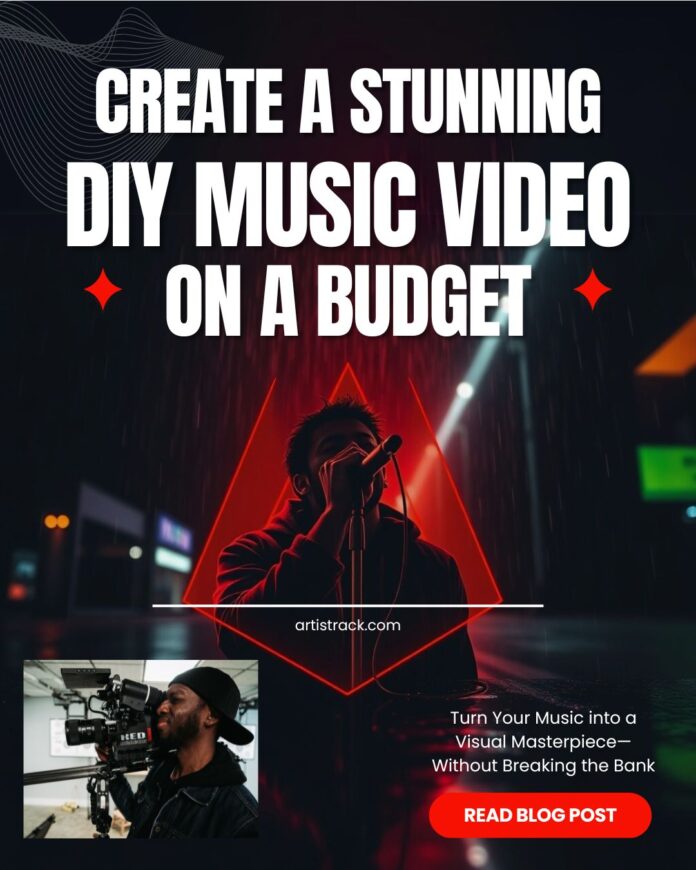
Are you eager to create your own music video but feeling overwhelmed by the technicalities and costs involved? With a bit of creativity, resourcefulness, and the right guidance, you can embark on your journey of DIY music video production with confidence. In this article, we’ll break down the process into simple, actionable steps to help you craft a high-quality video without a massive budget.
Choosing Your Equipment
First things first, you don’t need fancy, expensive gear to produce a captivating music video. A decent smartphone or a basic camera with video capabilities will suffice. Focus on using what you have effectively—good lighting, steady shots, and creative angles can make a huge difference. Investing in an affordable tripod, ring light, or external microphone can further enhance your production quality.
Storyboarding Your Vision
Before you hit the record button, take some time to sketch out your ideas. What story or message do you want your video to convey? Jot down scenes, angles, and any special effects you envision. This will serve as your roadmap during filming, ensuring that your shots flow smoothly and align with the mood of your song.
Scouting Locations
You don’t need a Hollywood studio to shoot a compelling music video. Get creative with your surroundings! Whether it’s your backyard, a local park, an urban rooftop, or an abandoned warehouse, choose locations that complement your song’s vibe. If you’re shooting in a public space, be sure to check if you need permission.
Gathering Props and Costumes
Enhance the visual appeal of your video by incorporating props and costumes that align with your theme. Raid your closet, visit thrift stores, or borrow items from friends to add flair to your production without breaking the bank. Small details like unique outfits, interesting backdrops, or subtle props can make your video visually striking.
Setting the Scene
Lighting is a key factor in achieving a professional look. Utilize natural light whenever possible—shooting during golden hour (just after sunrise or before sunset) can create a warm, cinematic feel. Experiment with different angles, movement, and perspectives to keep your audience engaged. If shooting indoors, use soft lighting sources to avoid harsh shadows.
Recording and Editing
When it comes to filming, don’t stress about achieving perfection in a single take. Shoot multiple angles and takes to give yourself options during the editing process. There are plenty of user-friendly editing software options available, both free and paid, such as iMovie, Adobe Premiere Rush, and DaVinci Resolve. These tools allow you to piece together your footage, add transitions, color-correct, and synchronize it seamlessly with your music.
Promoting Your Masterpiece
Once your DIY music video is complete, it’s time to share it with the world! Upload it to popular video-sharing platforms like YouTube, Vimeo, or social media channels. Optimize your video’s title, description, and tags with relevant keywords to increase discoverability. Leverage your existing fan base and reach out to music blogs, influencers, and online communities to help spread the word.
For maximum exposure, consider submitting your music video to ArtistRack—the #1 platform for promoting your music video. ArtistRack specializes in showcasing independent artists and helping their content reach a wider audience. Get more information about their video submission service here.
Conclusion
Creating your own music video can be an immensely rewarding experience, both creatively and personally. With a bit of planning, resourcefulness, and a willingness to think outside the box, you can bring your musical vision to life without breaking the bank. Take advantage of free resources, optimize your promotional strategy, and most importantly, have fun with the process!


 🔥 Limited Time: Get 55% OFF All Plans - Ends in: